Train Carriage Damage Assessment
We were contacted by a large UK based Rail company to conduct measurements of two train carriages, bogies and their large connecting bearings. This was to assess the extent of damage after this carriage was involved in an accident. Historically this company had conducted these investigations using single point measurements from a measurement arm system.
We explained that by using 3D scanning we could gather far more data, and paint a far more descriptive picture of how the parts have been affected. Within 10 minutes of scanning and a quick ad hoc review of the data as it was collected, our customer was overwhelmed with the results and instantly understood the benefits we could offer over more traditional measurement processes.
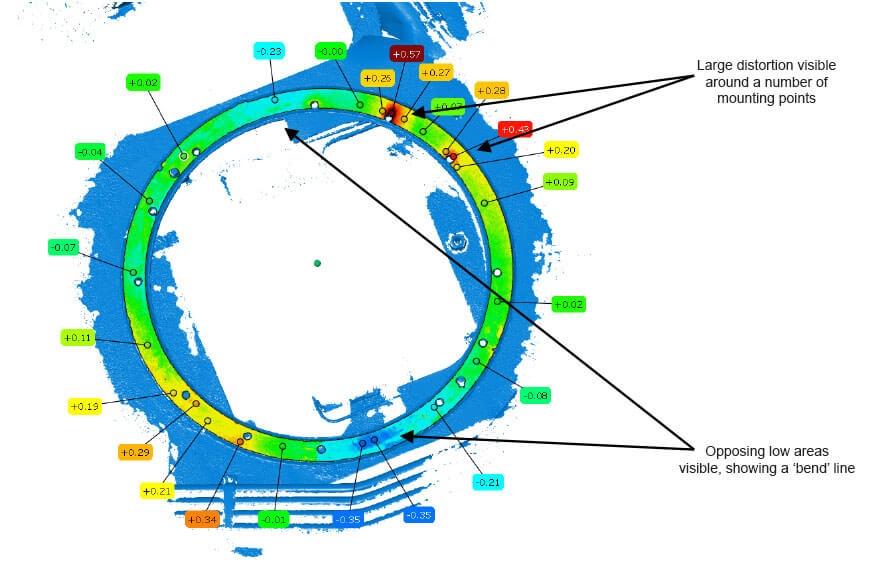
The bearing ring connects the bogie to the train carriage. Using traditional point measurement systems, the damage shown on this bearing could easily be totally missed. With a Capture Point 3D scan and inspection we saw the following results:
Pantograph Carriage
Front Arm Measurement – Individual
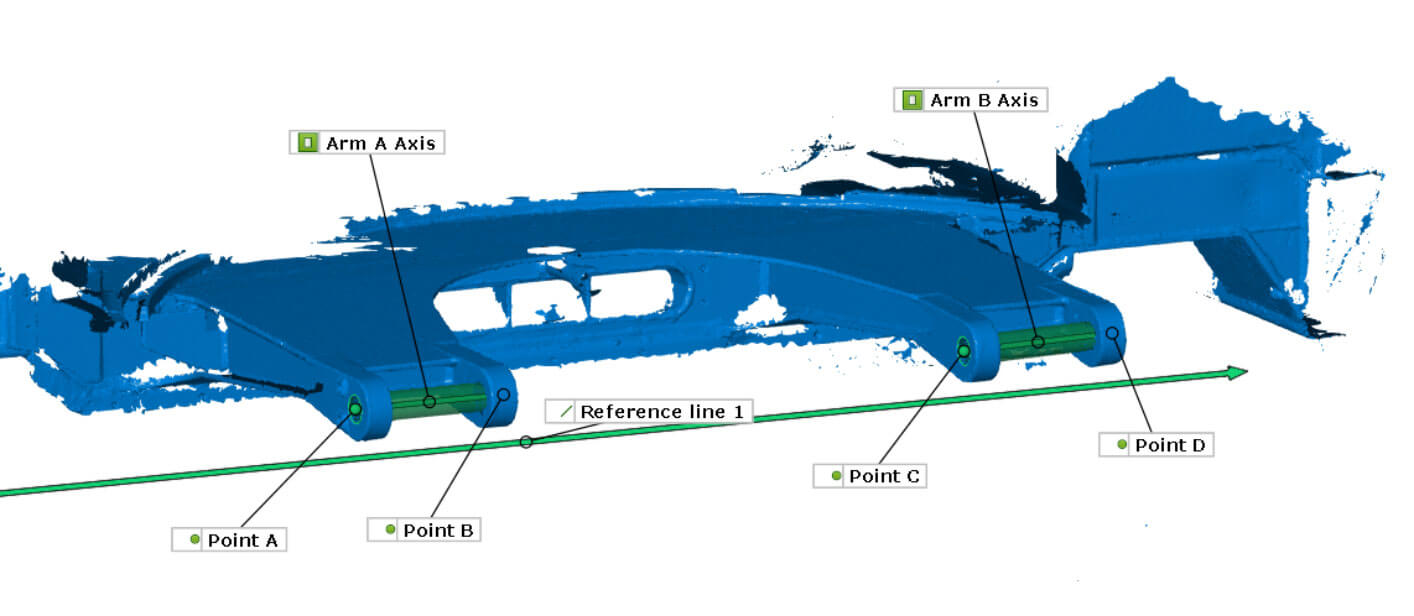
Measuring the arms which link the two carriages.
It was known that these would most likely show some degree of damage in way of being bent away from nominal due to the nature of the accident, but with no datum surfaces to trust it was not possible to understand which was bent and by how much.
By scanning these and the surrounding structure, we could make a local datum system to base measurements on. From this we could see that one side showed little to no distortion however the other side showed a more considerable angular change. This was consistent with the other areas studied and a picture was being built of how the carriages crashed and how they reacted to the forces.
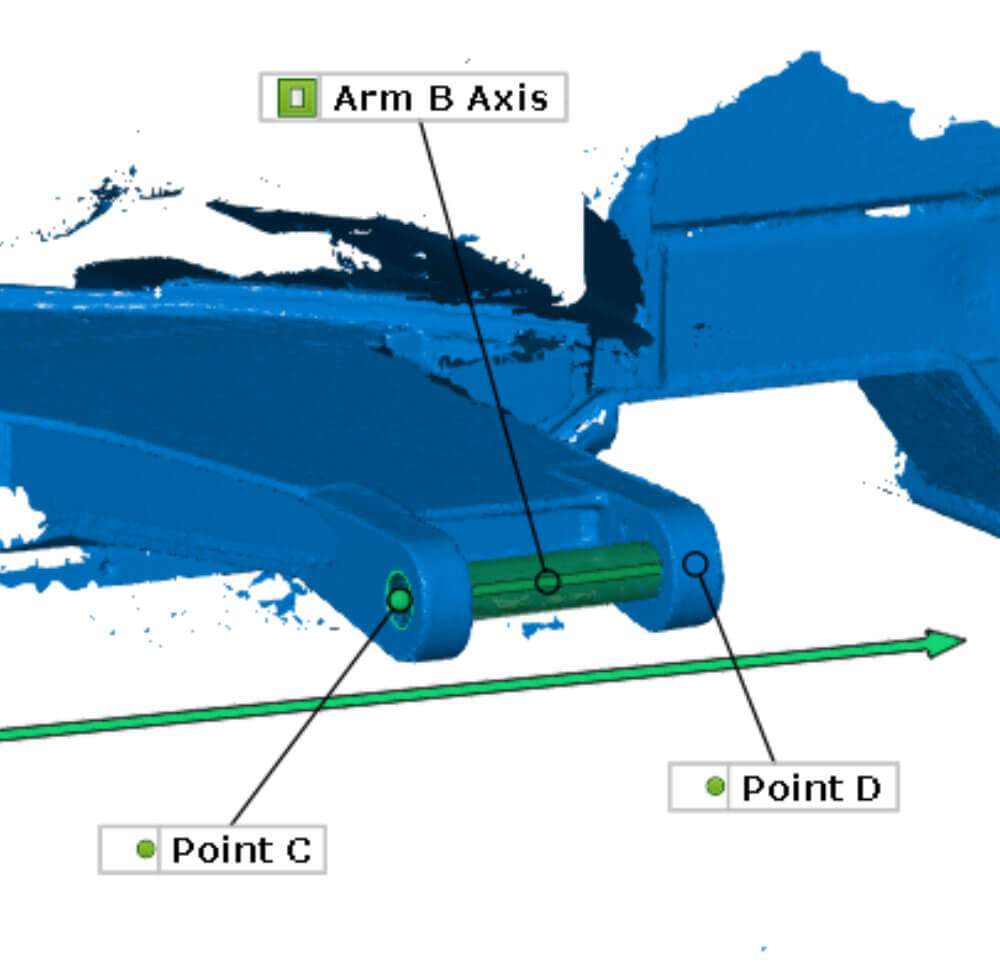
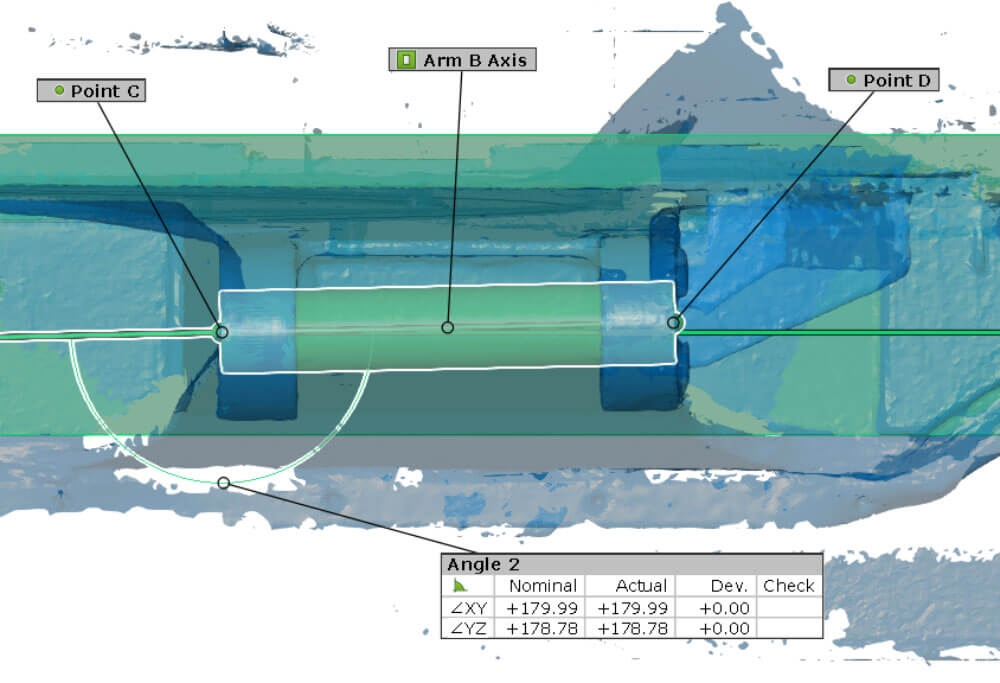
Angle between Measured line 1 to reference line.
Angle ‘XY’ = as viewed front above
Angle ‘YZ’ = as viewed from the front (ie end on)
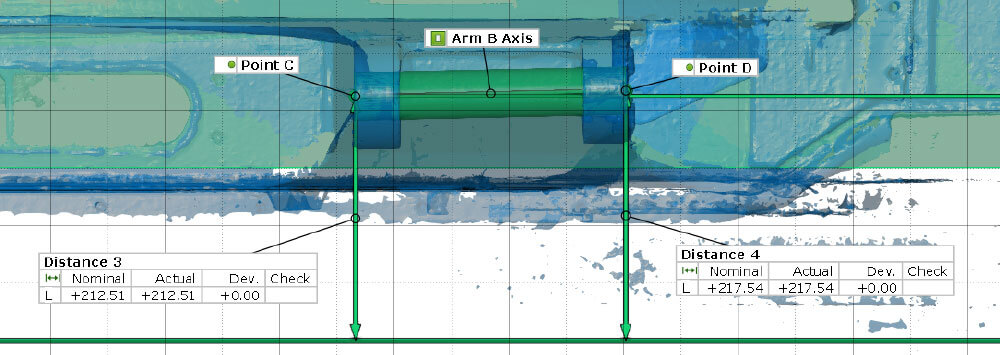
Pantograph Carriage
Sill – Top Edge Straightness
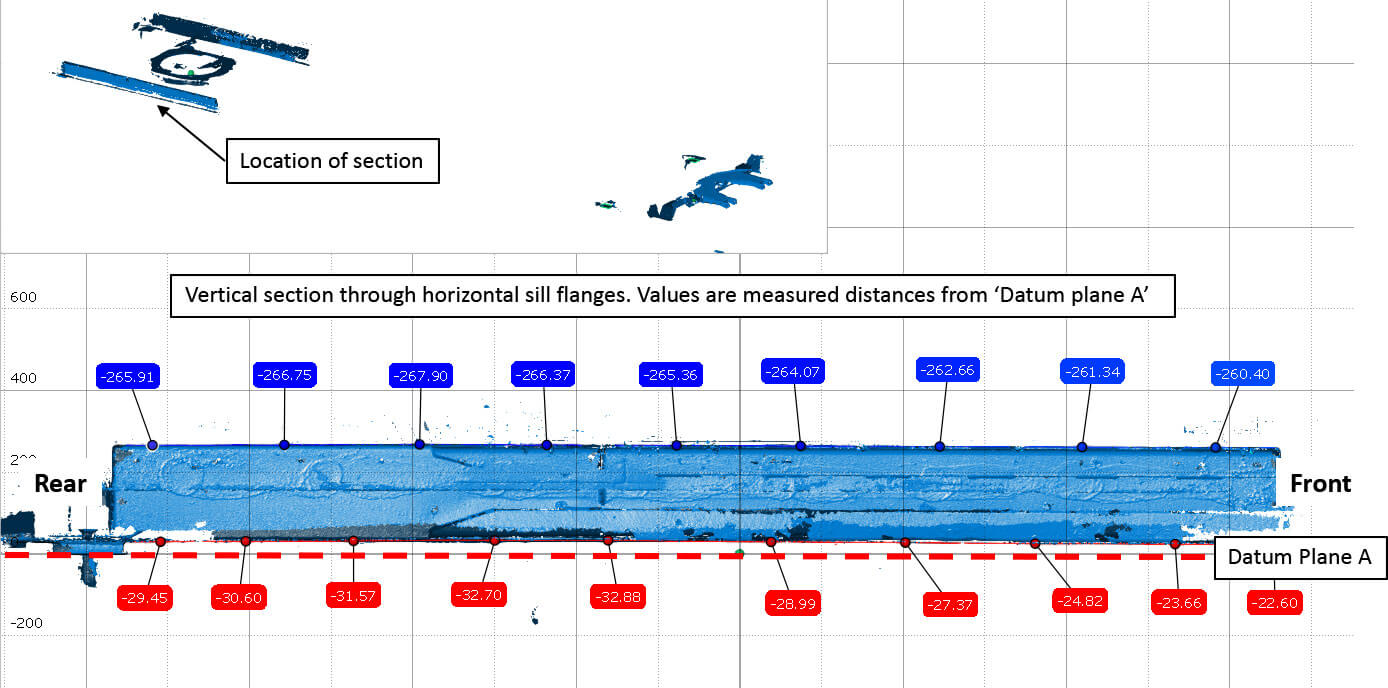
Pantograph Carriage
Sill –Lower edge distortion
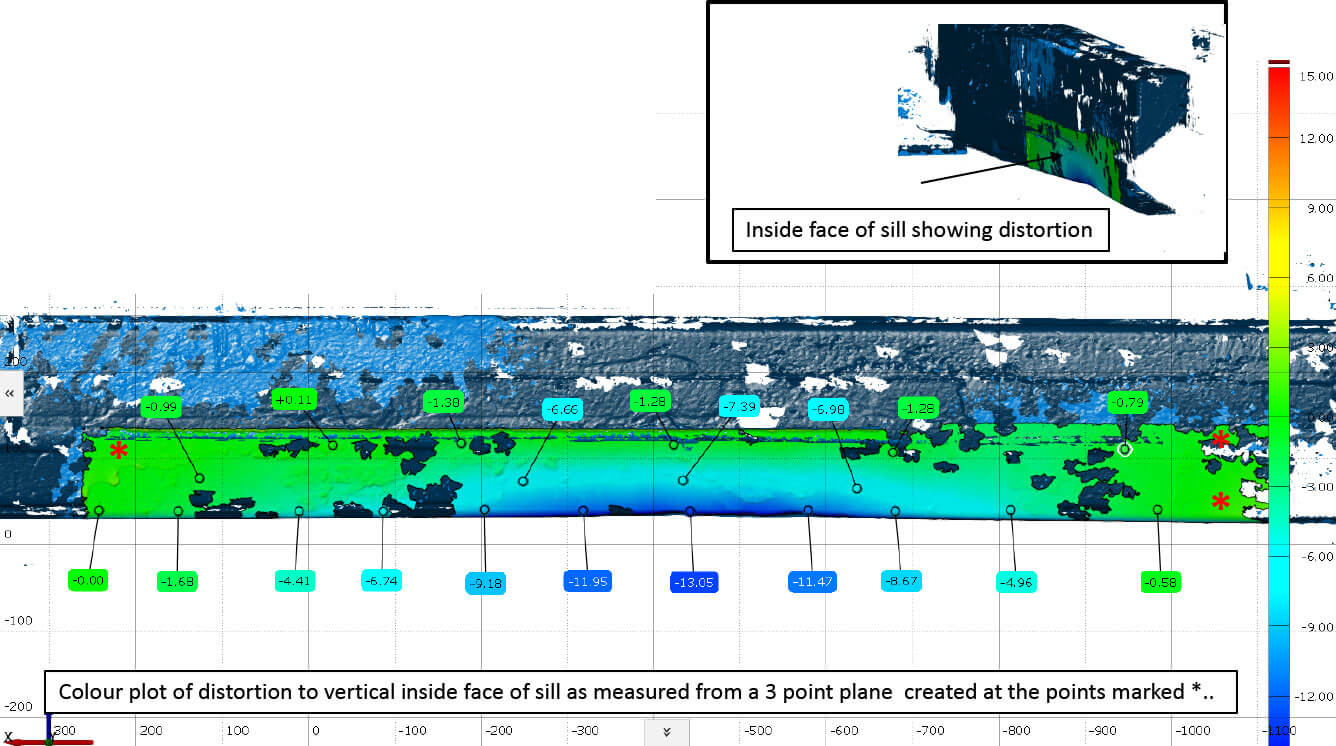
Results are displayed in clear, easy to understand manner allowing the engineers to efficiently make decisions on what and how to carry out repairs.
How Capture Point can help you
REVERSE ENGINEERING
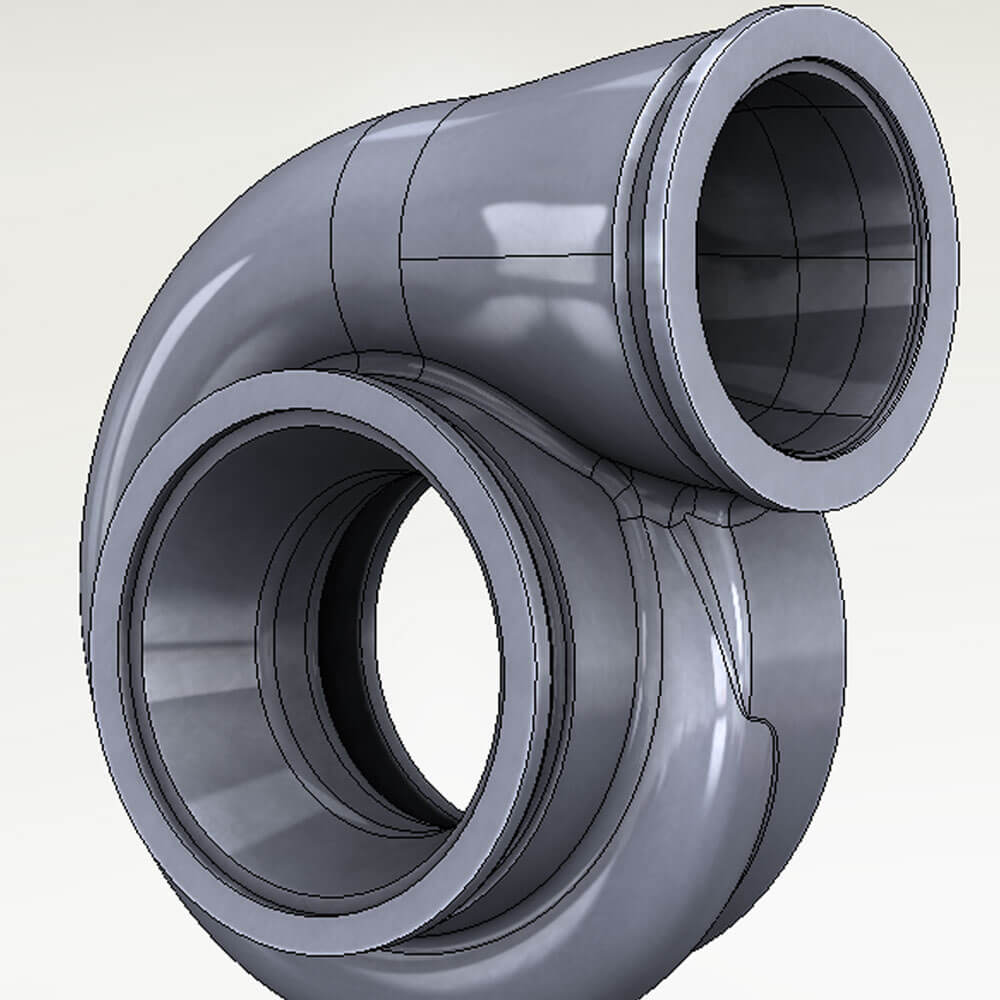
We use the very latest metrology grade scanning systems to ensure our reverse engineering process starts with the very best data possible to create CAD models for use in downstream processes.
3D SCANNING
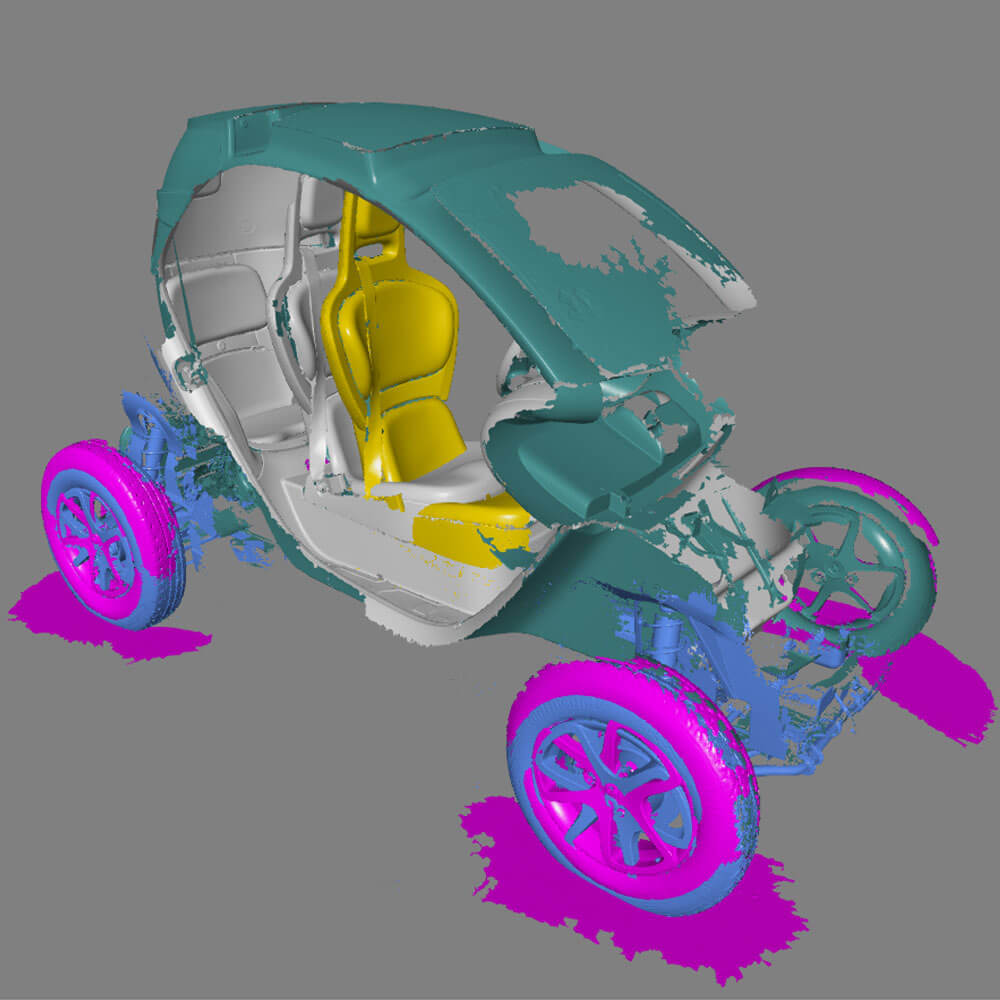
We produce high resolution 3D scans with industry leading accuracy from 0.03mm. We can 3D scan any object, any size, from just a few mm up to 100m plus and any surface, any colour.
7 AXIS CNC MACHINING
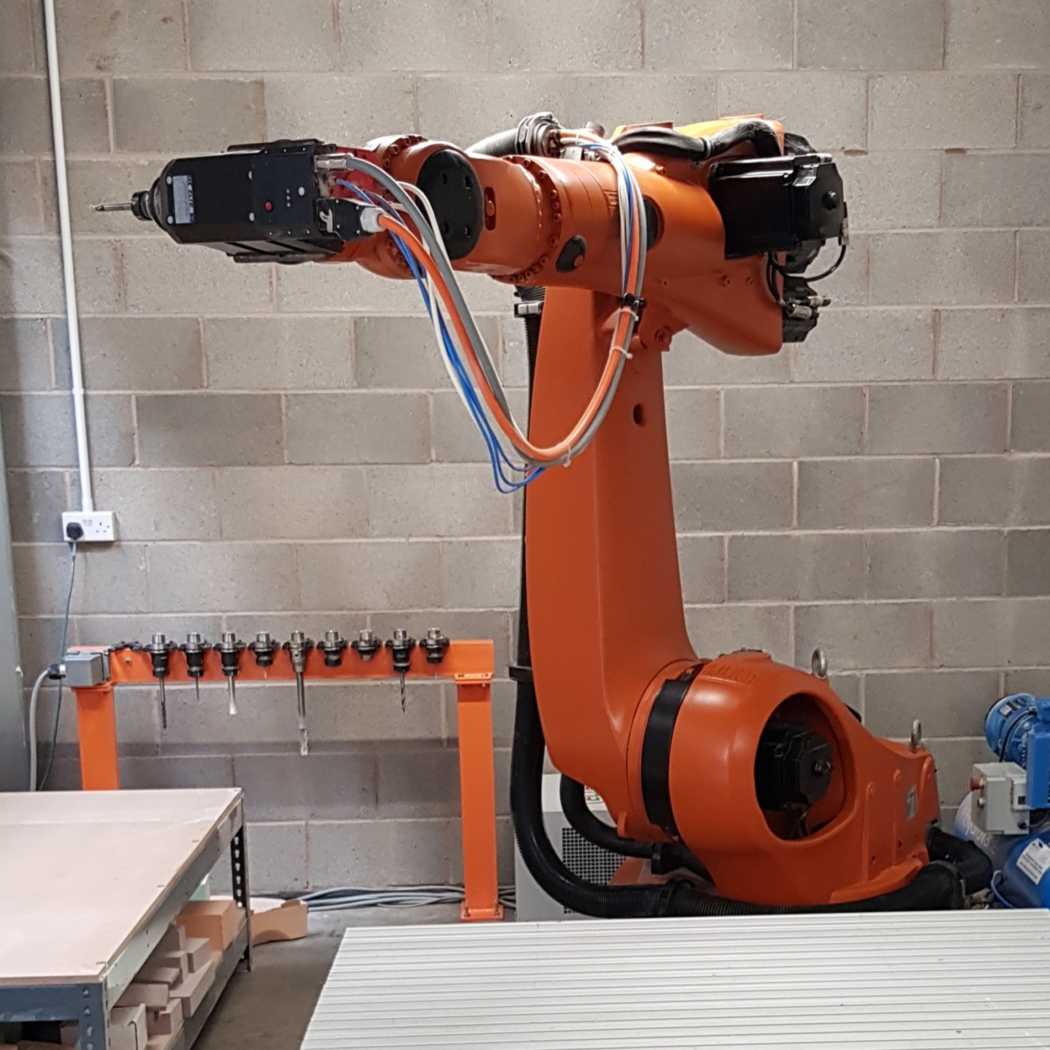
We can quickly create large complex models, mold patterns and sculptures milled in a range of materials from woods, foams, model boards and many more.
3D SCANNER HIRE
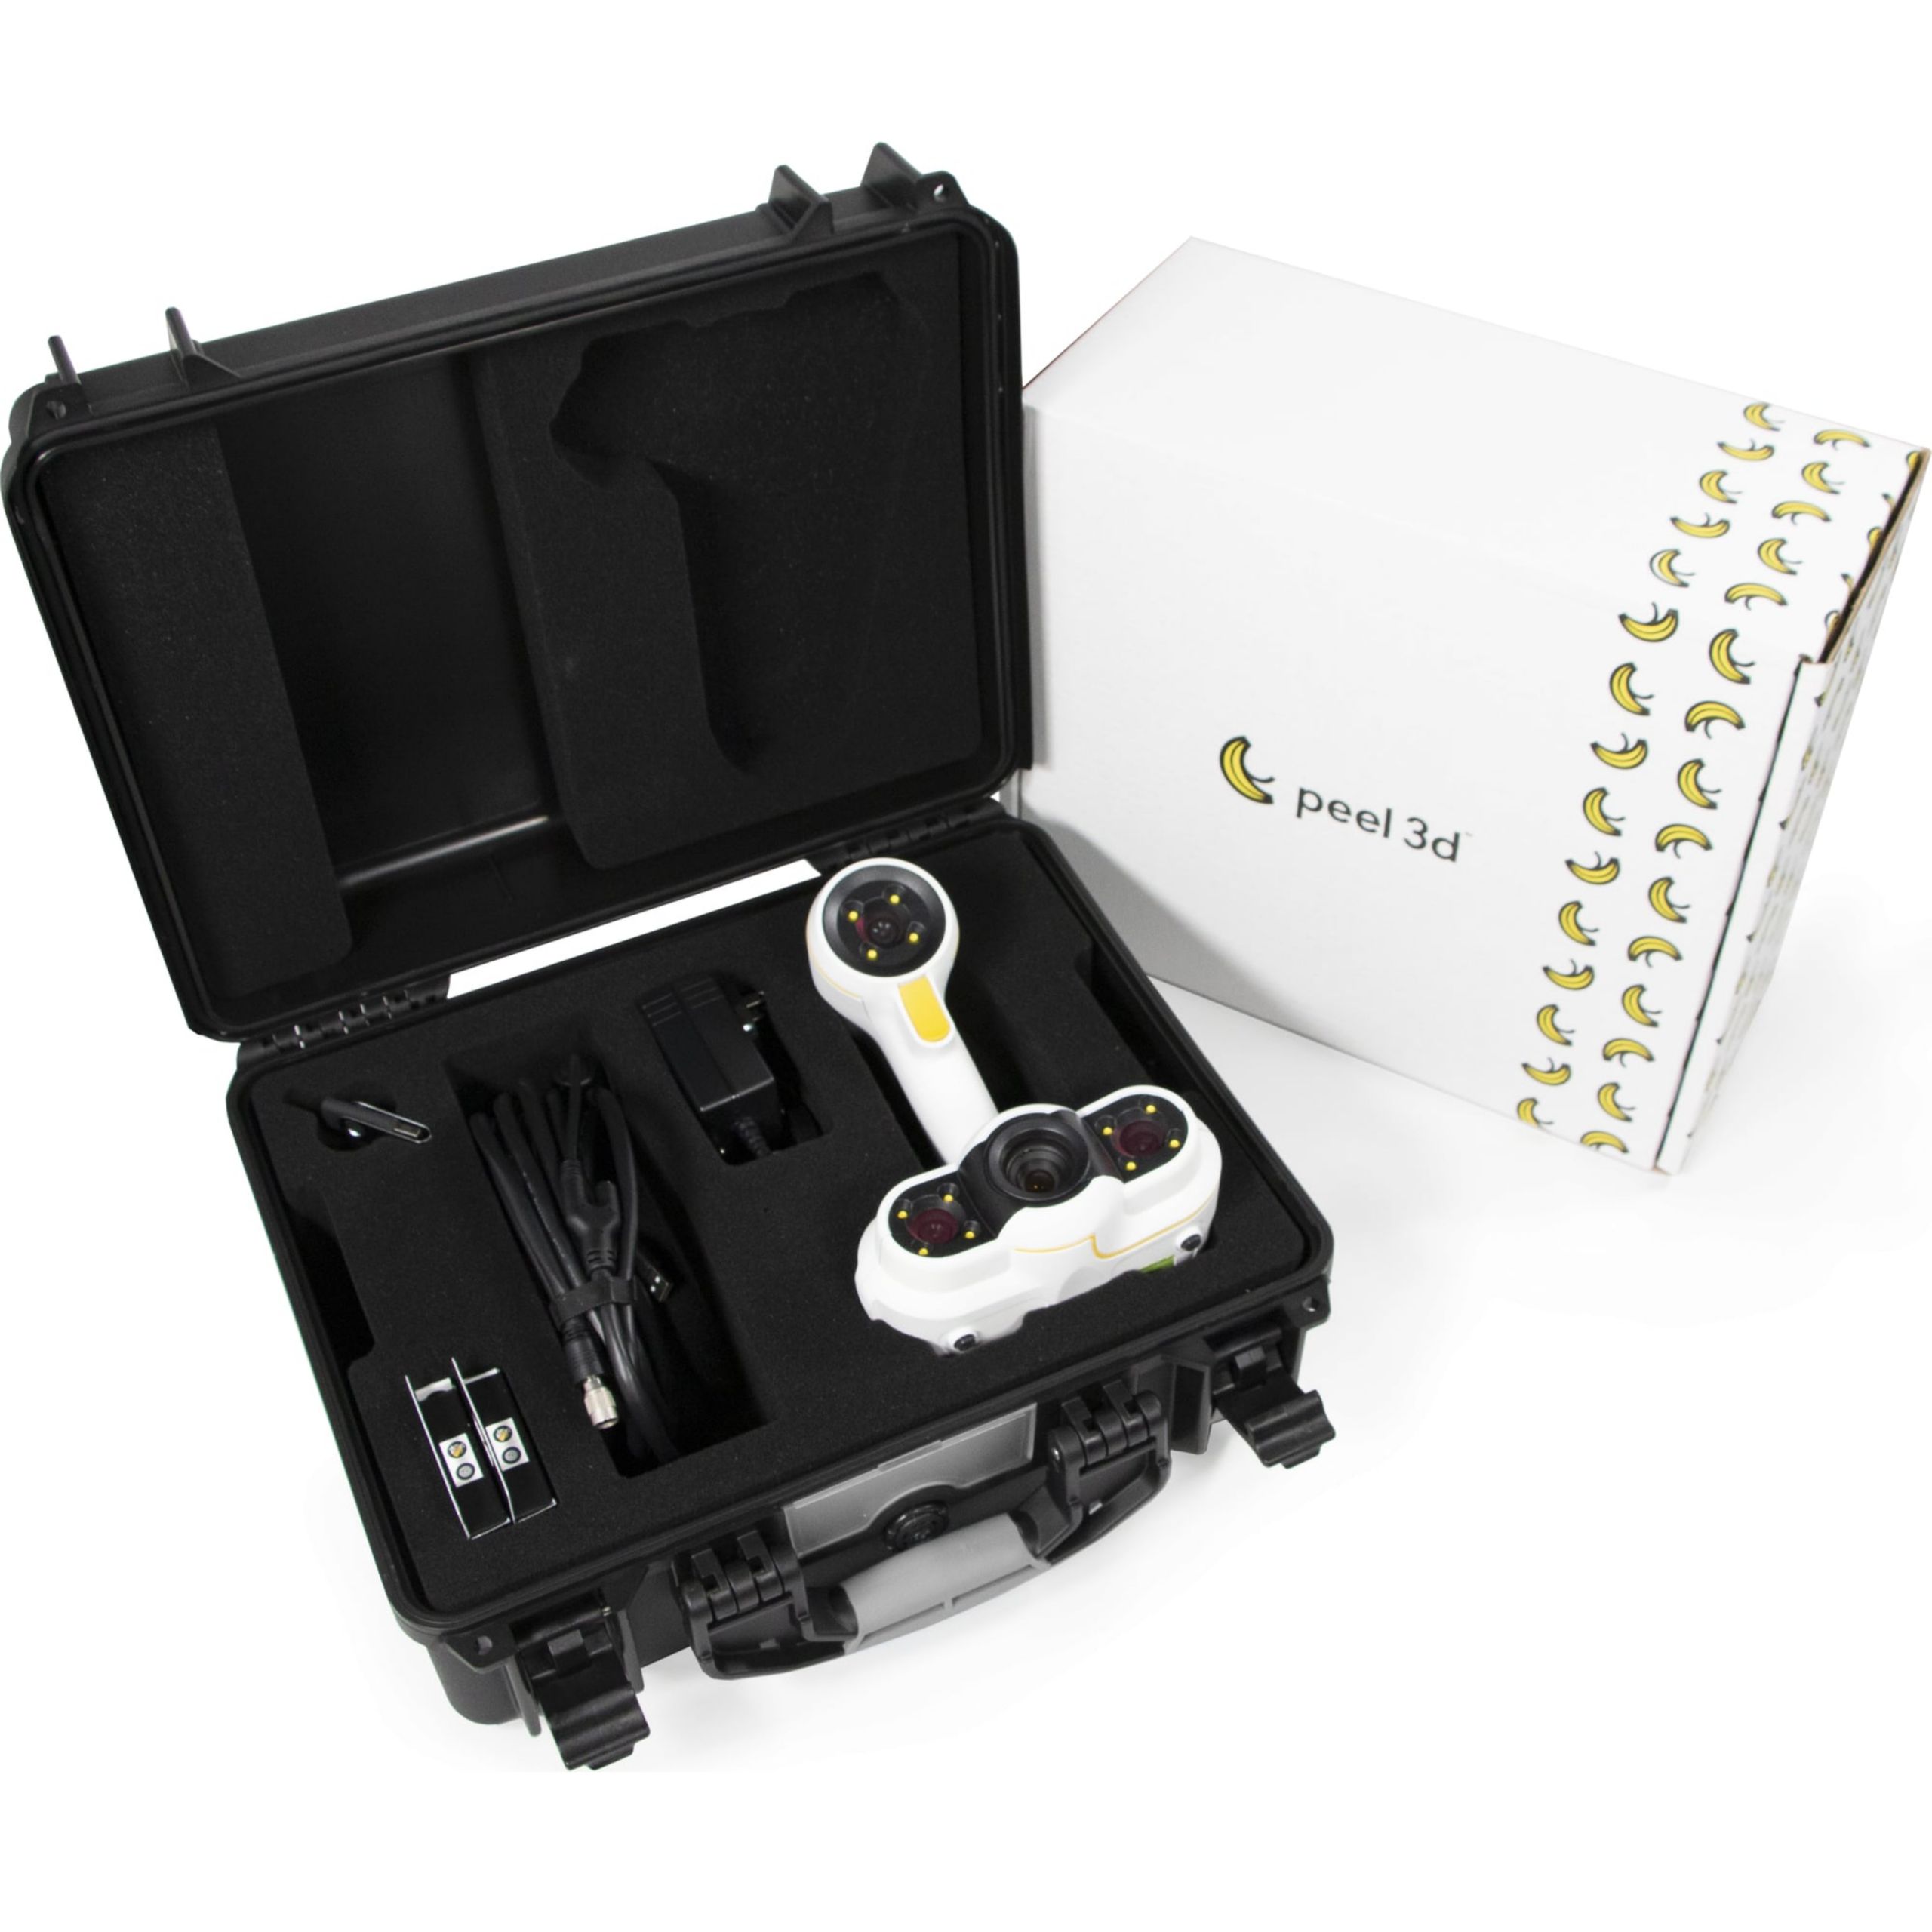
Get scanning straight away! Point and shoot 3D scanning with our Peel2 scanner, made by the industry leaders in industrial 3D scanning equipment, Creaform you are guaranteed quality results.
PART INSPECTION / METROLOGY
We scan your parts and align and compare the data to an existing CAD master model, which allows us to quickly see deviations over the object or direct us to inspect specific points.
Let's discuss your project. Request a free callback.
